At long last the enclosures for the Lorantz 15″ woofers are (mostly) done:
Big thanks to Col for helping with the build – his expertise gleaned from the multitude of enclosures he has created was a big help in streamlining the assembly process.
Assembly:
Most importantly the specifications I had given for the rebated hole for the woofer was spot on: the driver fits in the hole perfectly:
The driver was attached using M6 “t-nuts” and Allen bolts purchased from ebay, these worked out really well. The T-nuts were stapled on so they dont lift off the baffle while bing unscrewed:
Then the tricky bit of actually glueing – both cabinets used almost an entire 500ML bottle of Selleys PVA wood glue. Everything has mostly lined up, not absolutely perfect but nothing that a little bit of sanding wont fix, more importantly the enclosures ended up sound and airtight. The 4 corner strap clamp turned out to be a major lifesaver here, and the 5 boxes of spare floor tiles turned out handy as well:
A picture of the dried enclosure the day after – this shows a detail of the bracing, and where we fixed the mistake in the upper brace dimension by adding a chunk of 18mm plywood offcut into the gap. Maybe this is actually a unique “Audiophile” design feature and not a mistake?
First layer of stuffing added:
Binding posts added, these are nice chunky Dayton Audio BPA-38G purchased from local DIY vendor theloudspeakerkit:
I wanted to move away from the plastic plate style used before and go for these ultra chunky, simple ones. It does mean I have to be careful about bashing them as they jut out the rear of the enclosures.
A short run of chunky speaker wire (can’t remember the type but it’s the heavy duty stuff from Altronics or Jaycar) added, as well as an additional rear layer of Clark Rubber convoluted foam stuffing against the back panel:
Bass reflex ports with PVC pipe flared DIY extenders added:
..with some gaffa tape to keep the extenders attached. Excessively documented here. The specified cutout hole size of 138mm turned out to be spot on, these just tapped into place with a mallet and fit perfectly.
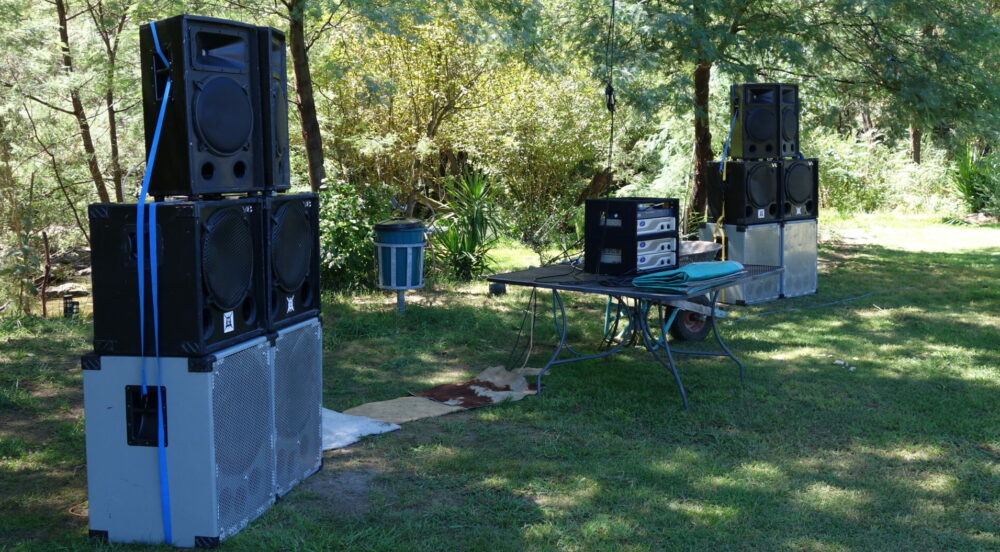
Then the drivers themselves were mounted in place, and the system set up with the compression drivers and horns – already looking a lot better in the loungeroom than the old PA cabs:
The two steps left to be done are:
a) some finish on the wood to make it look nicer – the unfinished plywood is still a step up from before, but some sanding, varnish and wood stain should really make these look like long term furnture items and not some nerd construction project, I hope.
b) miniDSP adjustment of the crossover. Now the cabinet is complete this can be done properly. I’ve already got some ideas and have done a “quick and dirty” miniDSP setup that is getting reasonable results but it’s worth hitting the books and reading up and doing it properly.
how does it sound
Great! Well it’s early days yet, but the bass definately extends lower, and is much less distorted in the lower frequencies. These cabinets are really getting the full bass capabilities of these speakers, at the expense of not being able to utilise their maximum power. But even with the power I can use I can get it to earsplitting levels in a domestic listening situation so thats OK. I expect this to only get better once the measurement and crossover refinement is done.
further technical stuff
Here is the winISD modelling of the transfer function of the 131.3 litre cabinet size eventually used (approx, given the guestimation of the volume of the driver itself and bass reflex ports, but probably close enough). Tuning is @ 34Hz, which seems to match the approximately 24cm length of the extended bass reflex ports.
and here is the winISD modelling of the max power:
as can be seen from the transfer function the extended bass does have some gradual 7db rolloff below 600Hz (remember this system currently crossing over at 600hz), but the miniDSP EQ functions can be used to correct for this.